
How to edit groups
Organizing assets into groups makes monitoring easier.
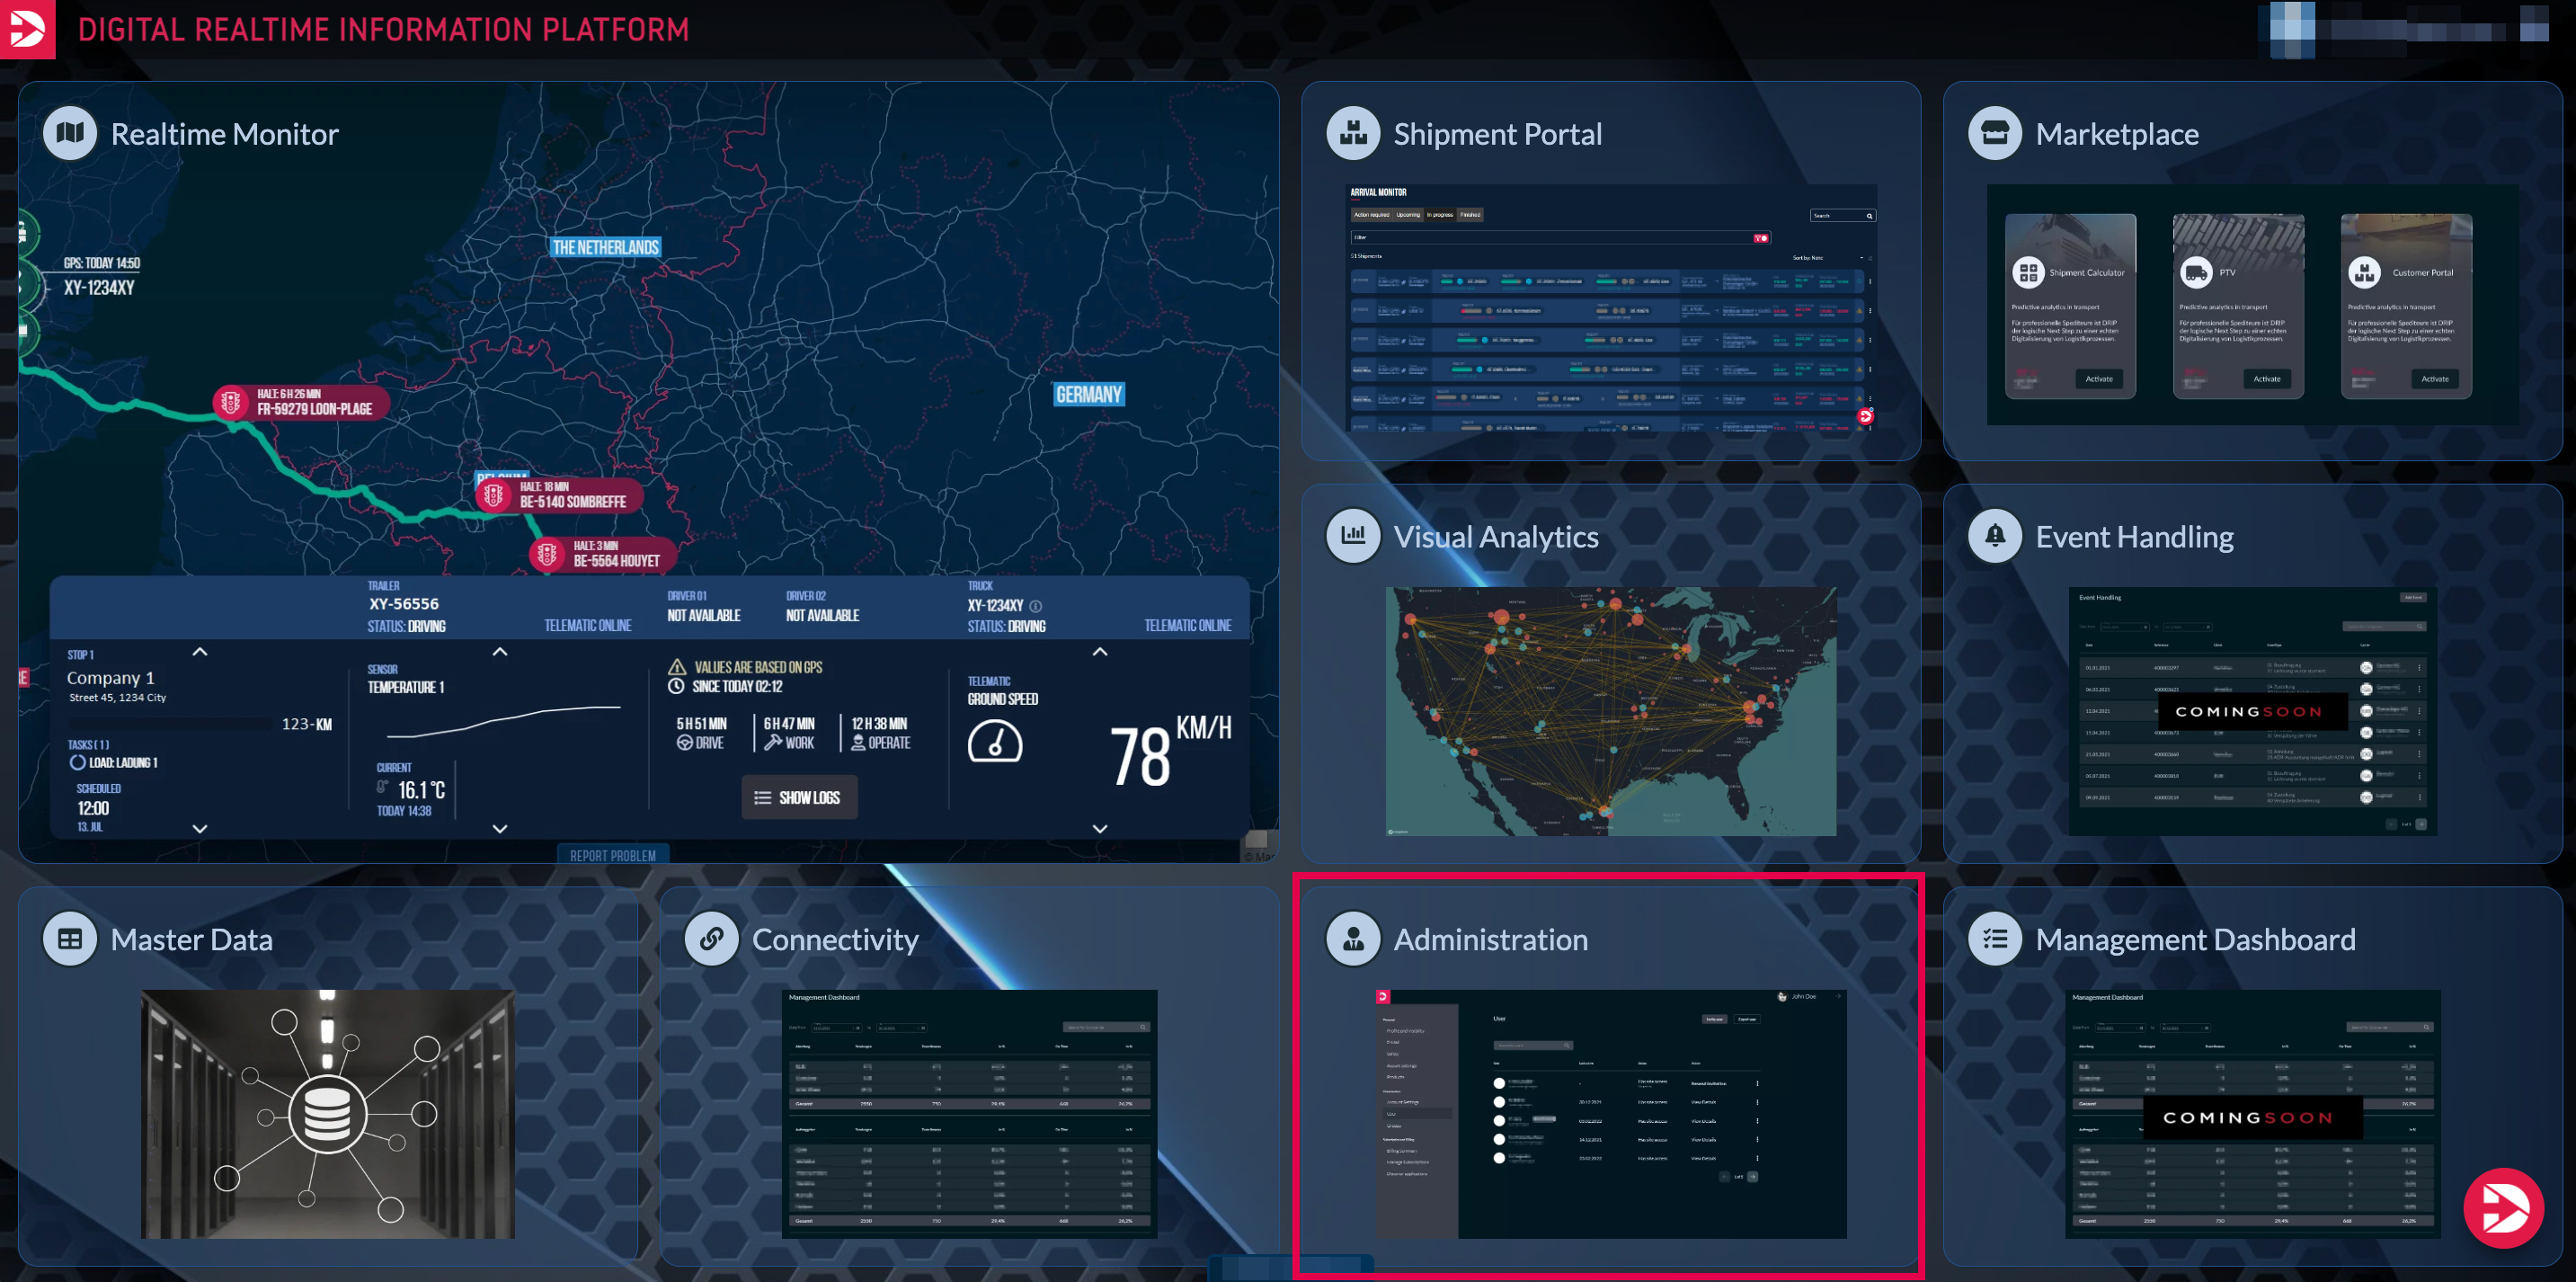
In the administration area, you have the option to edit groups. To do so, select this area on the homepage.
Afterwards, an overview of your company profile will open. In the left sidebar, select the “Groups” section (1) to access the respective subpage from there.
Click on the group name to view its details, including the vehicles, users, and drivers assigned to the group. (2).
Below “Actions”, you have the option to edit, delete, or leave the group. (3)

To edit the group, click the “Edit” button at the right end of the respective group (3).
Here you can change the name and description of the group.
You have the option to add either all vehicles (1) or selected vehicles, such as “Test1” and “Test2” (2), or remove them by unchecking the checkbox.The search function (3) can be used to find individual assets more quickly.
If you tick the "add new assets automatically" box, all new assets are automatically added to this group. (4)
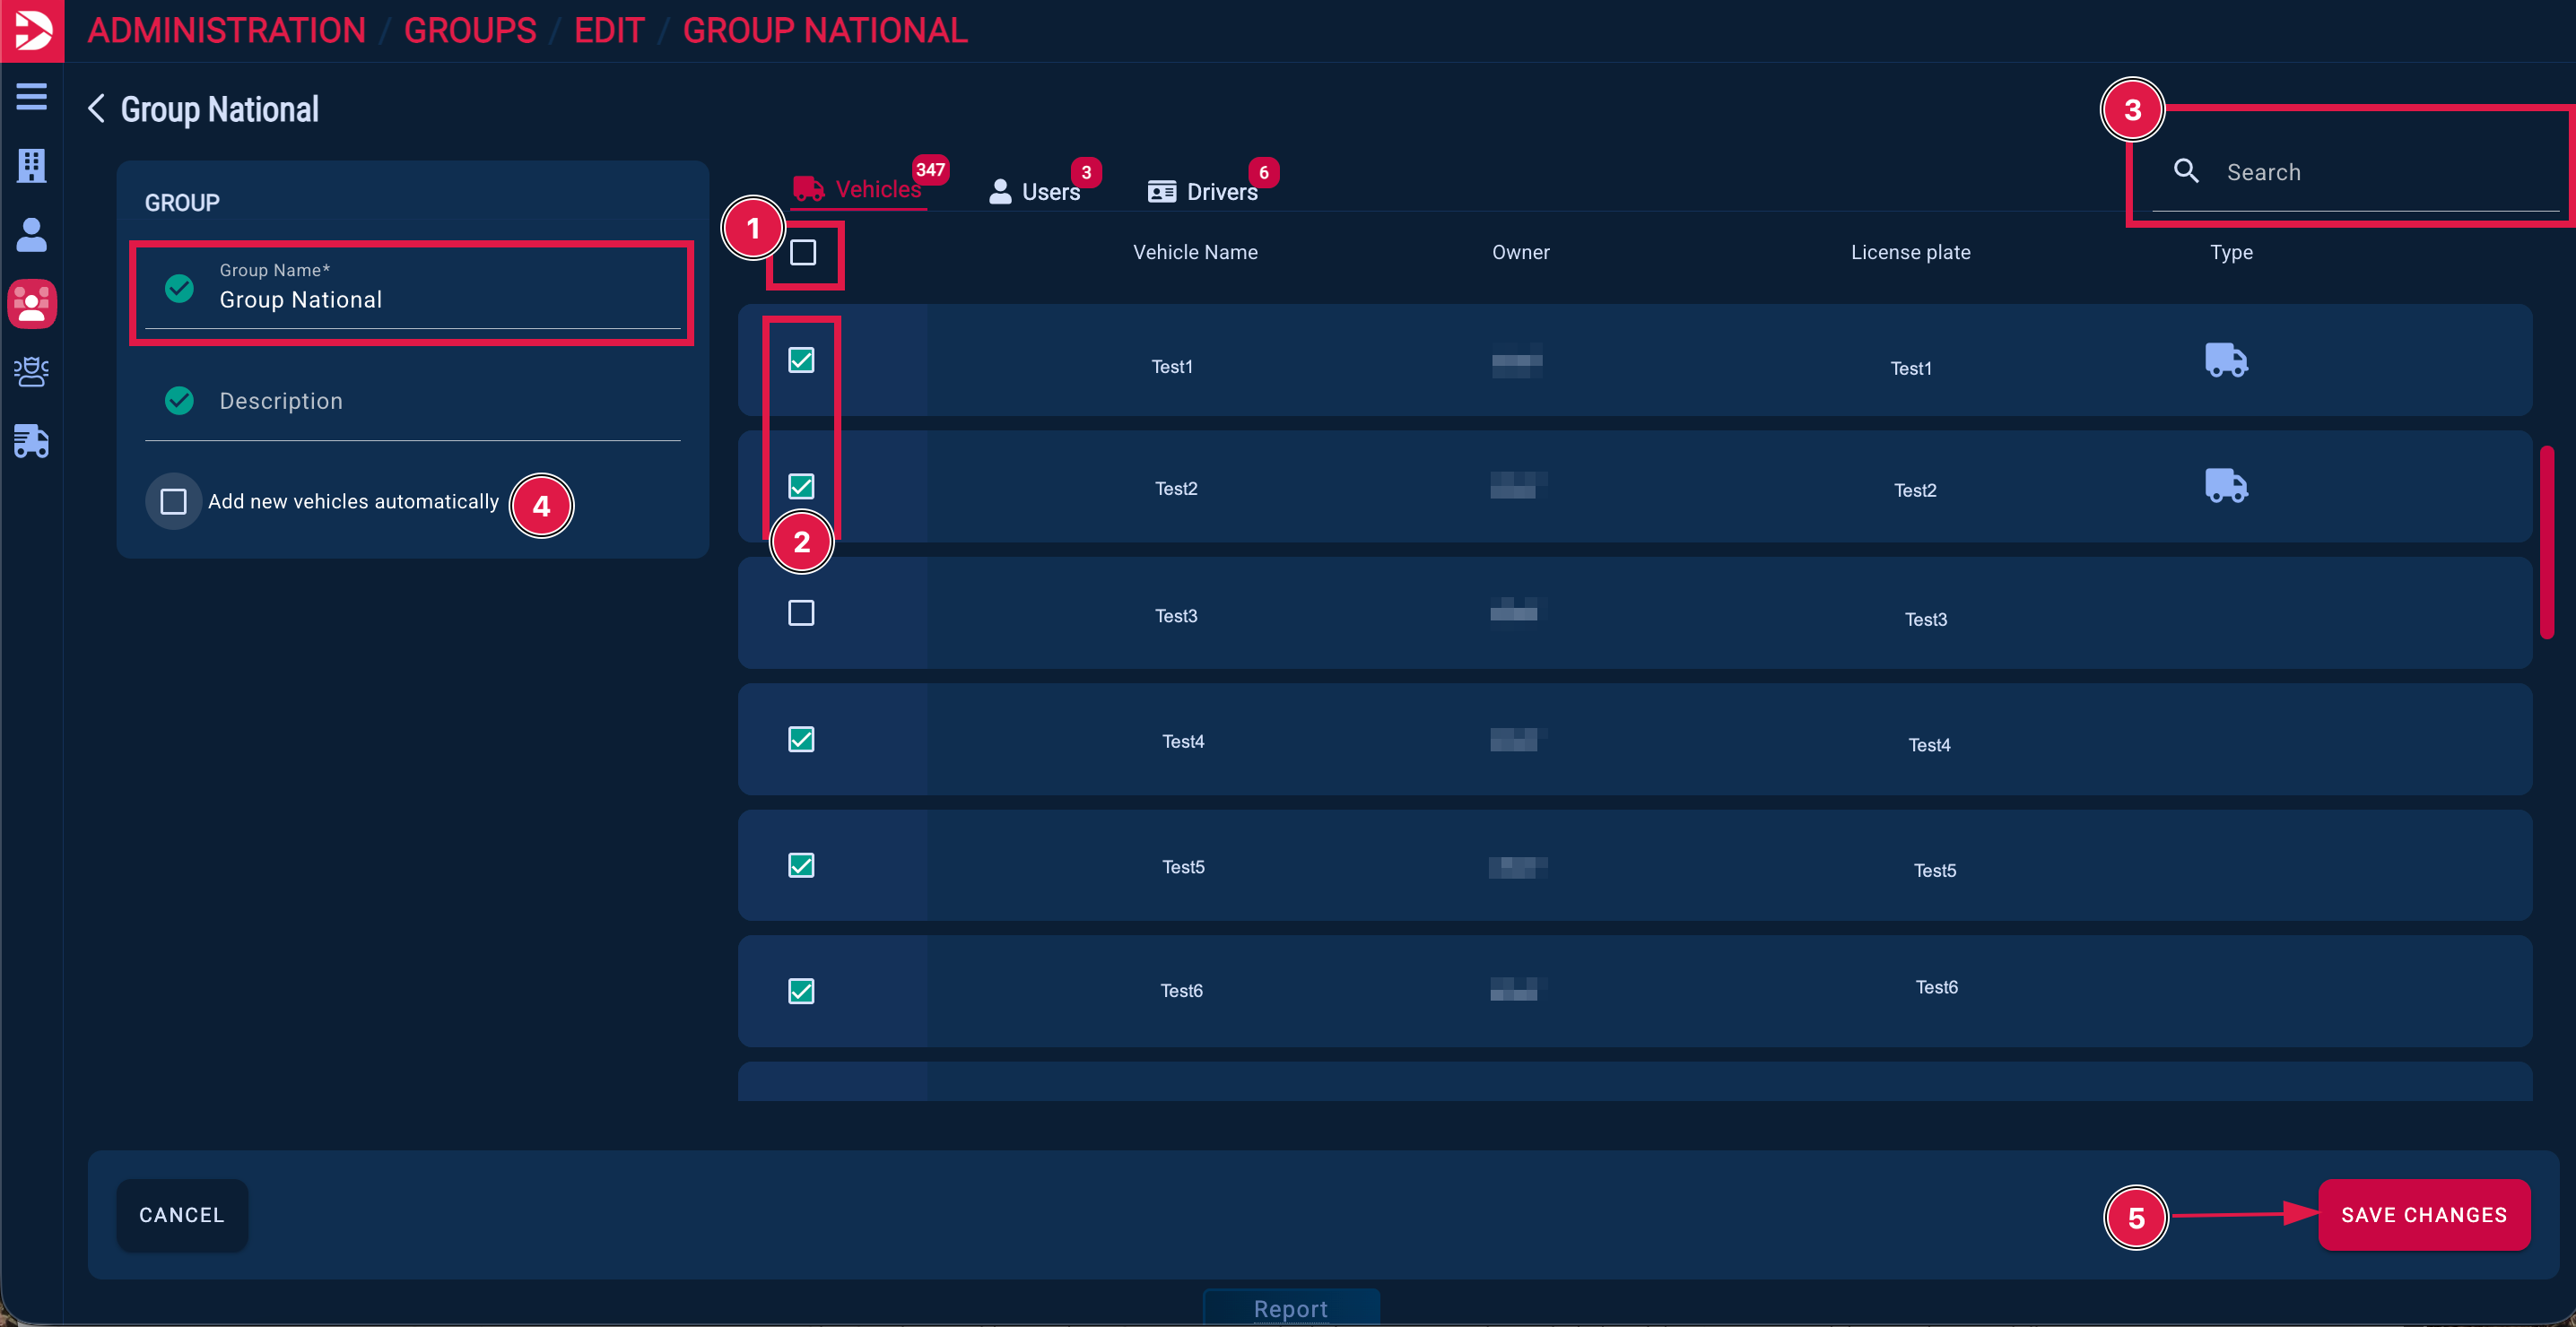
Save your changes by clicking the “Save Changes” button. (5)
Under the “Users” tab, you can choose whether all users or only selected users should see the vehicles in this group.
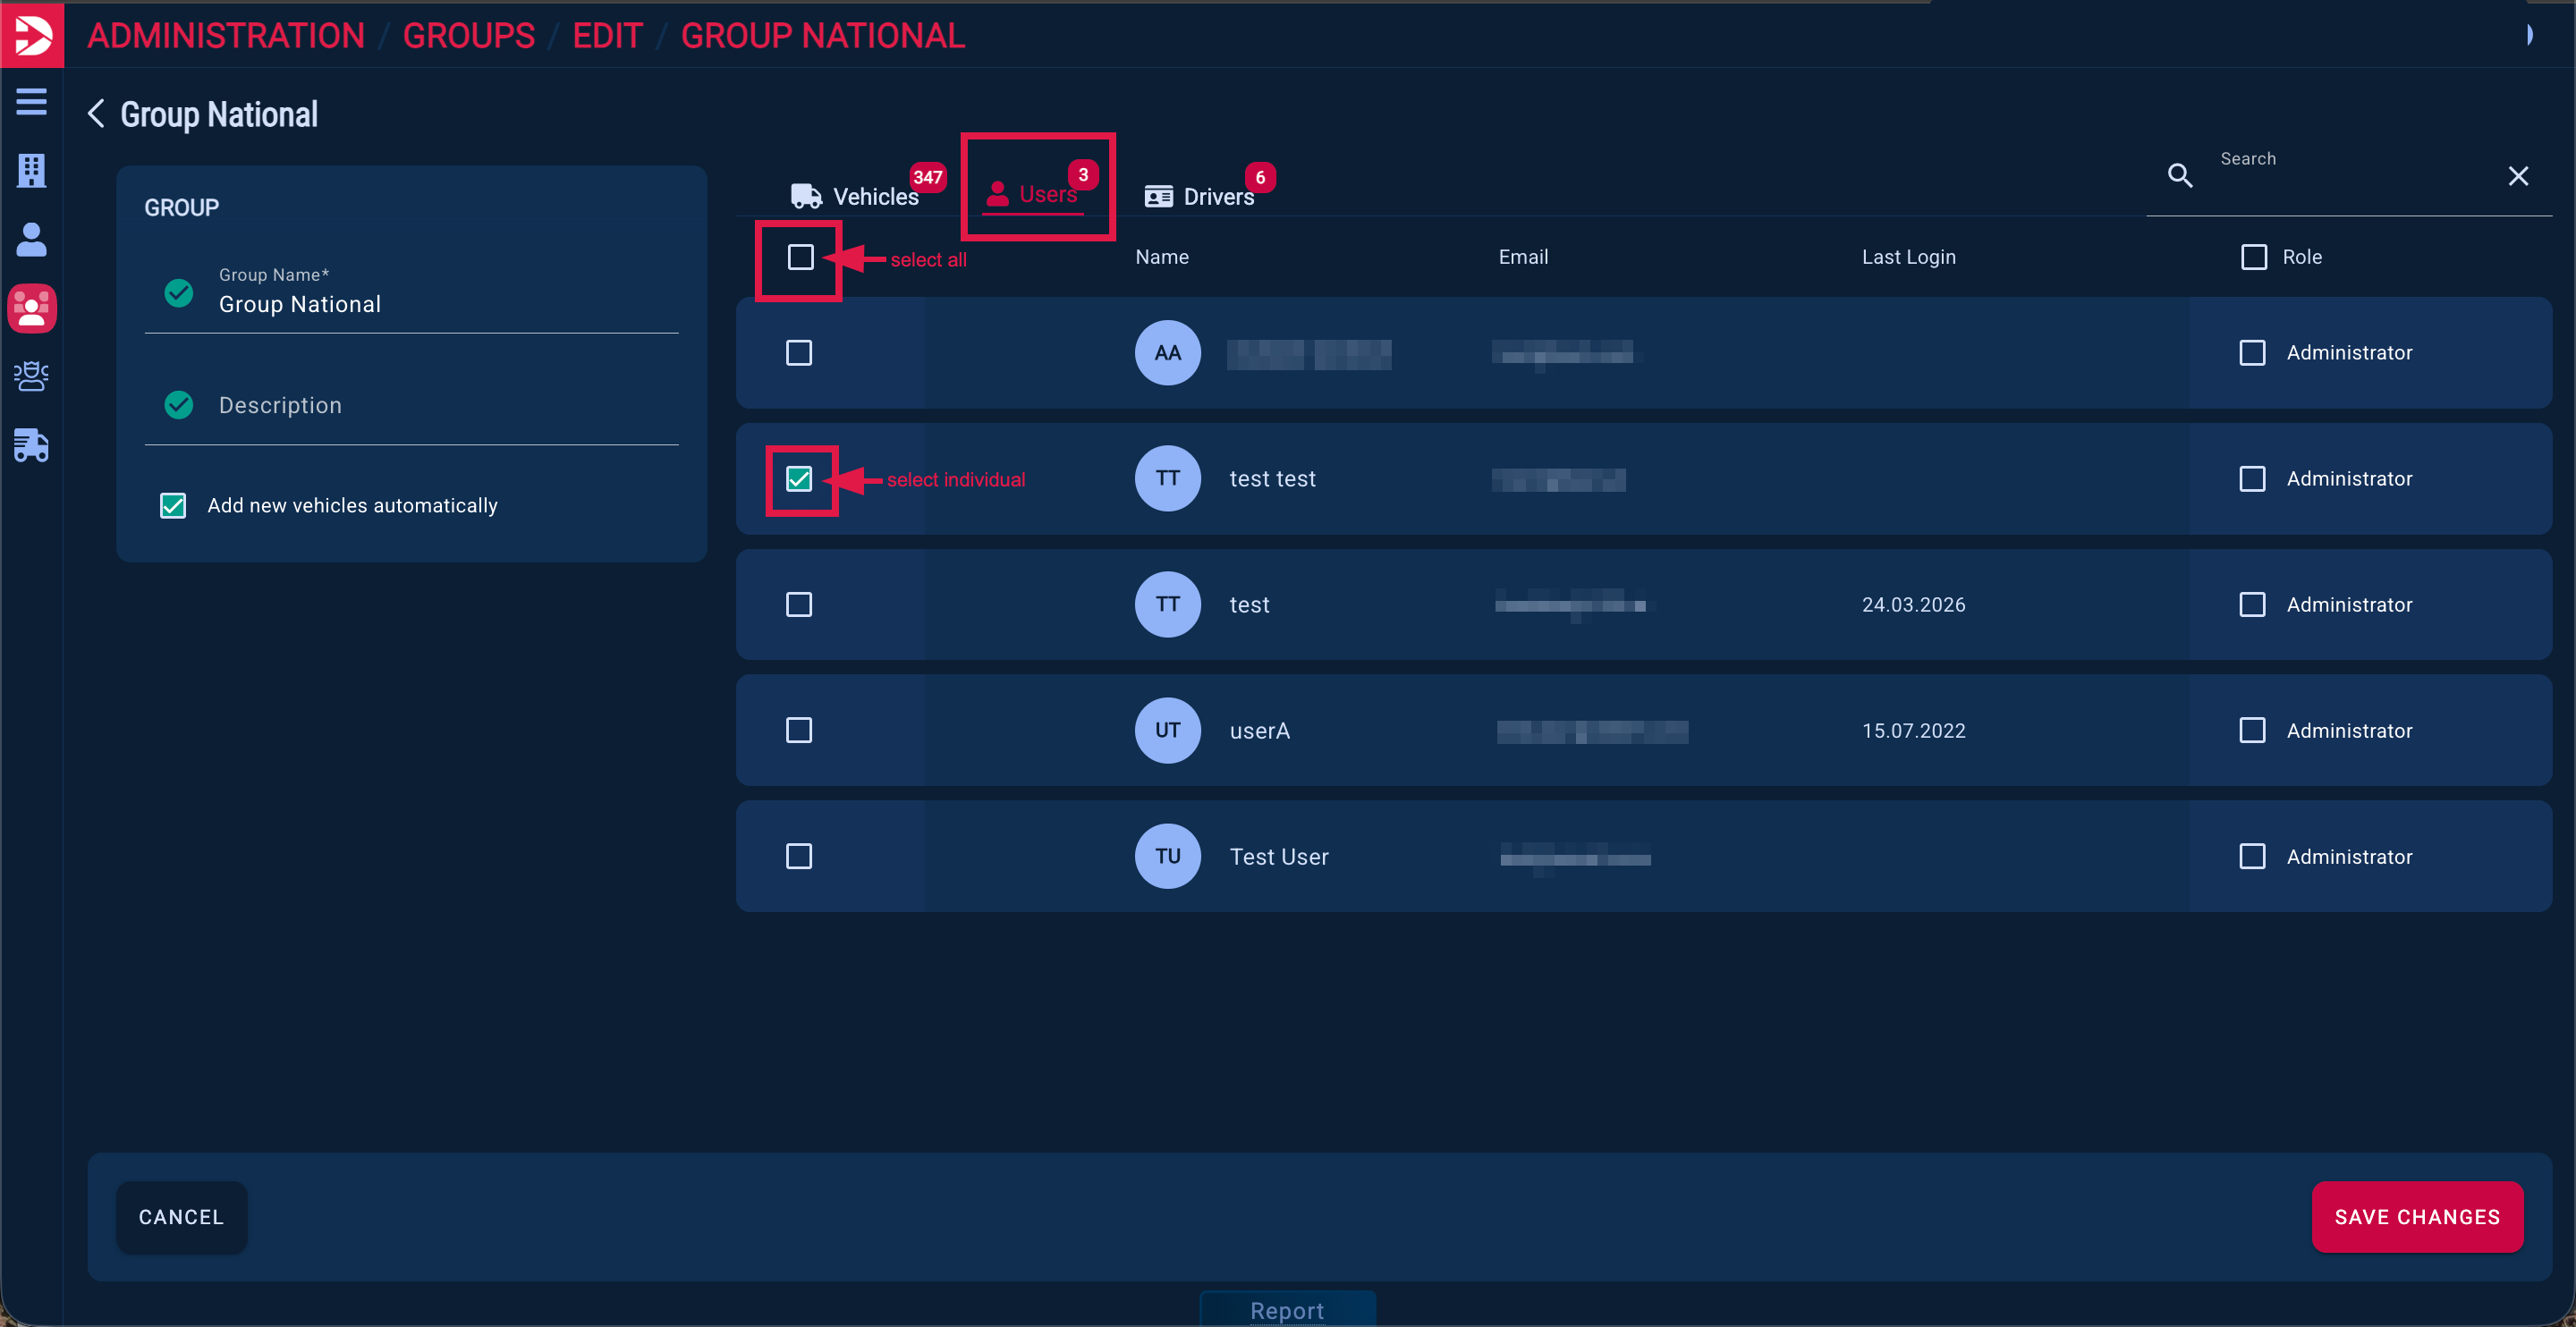
Save your changes by clicking the “Save Changes” button.
Under the “Drivers” tab, you can manage the drivers. Drivers who should be able to connect to the trucks in this group via the D4D app and chat with the dispatcher (who must be in the same group) can be added by checking the box.
By unchecking the box, drivers can be removed from the group.
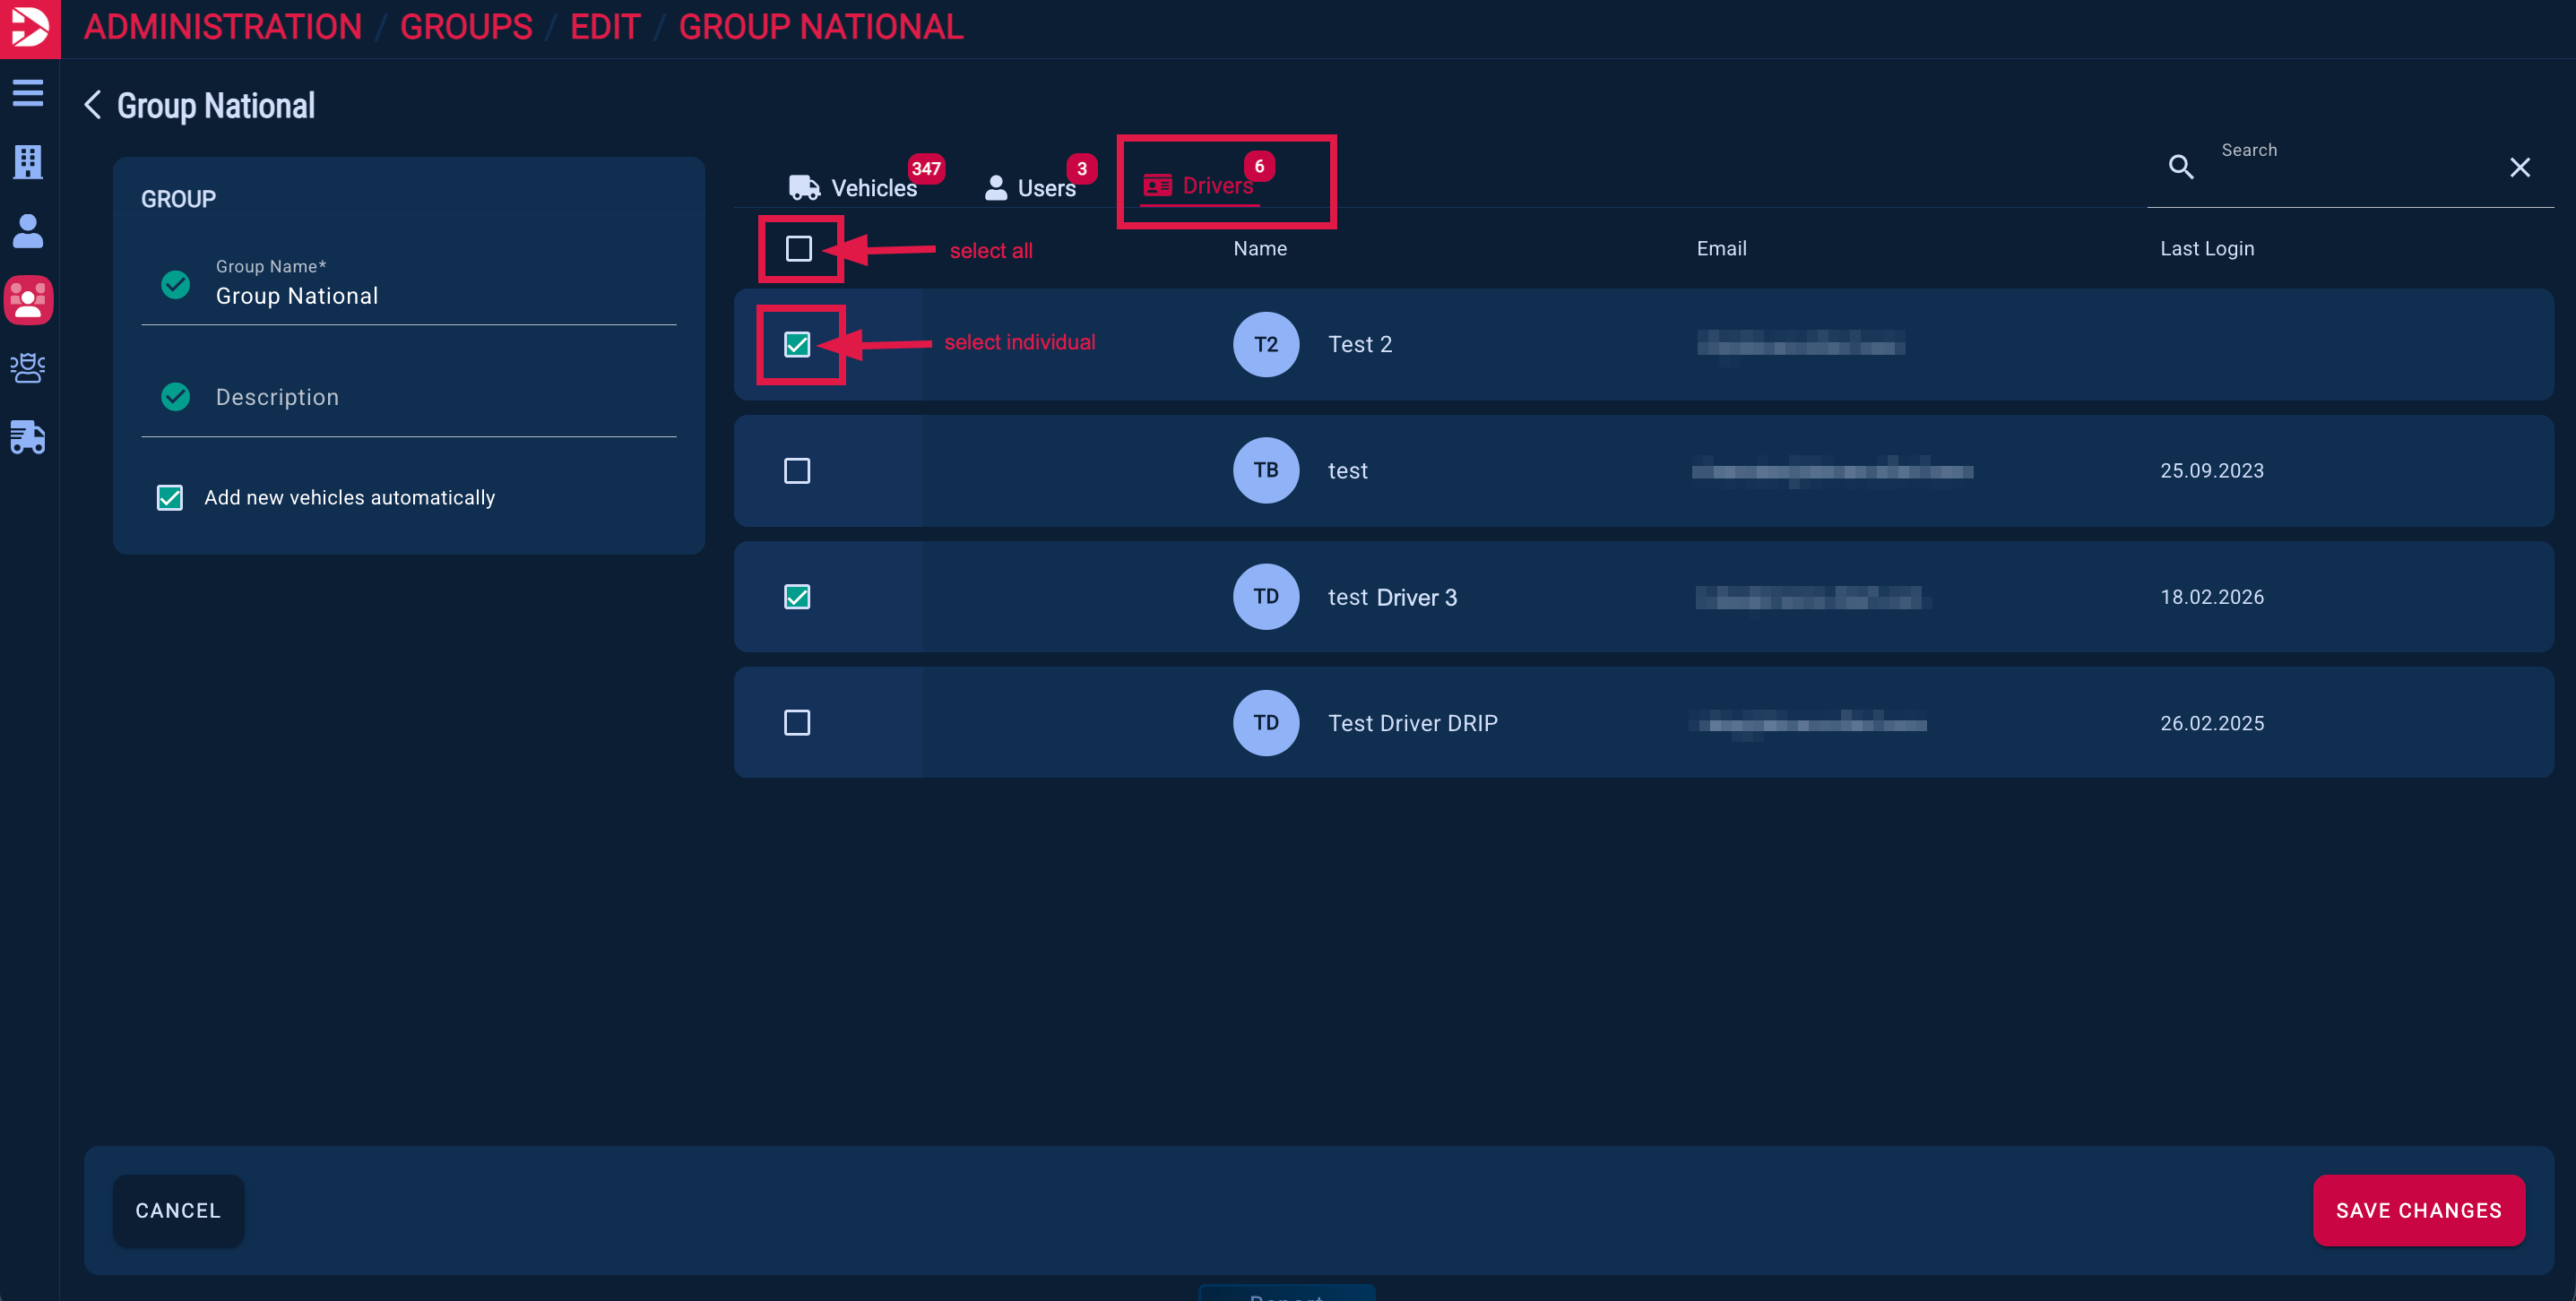
Save your changes again, by clicking the “Save Changes” button.